Hello MantaChasm! Welcome back to the second (and probably final) post chronicling the birth of the newest member of my PC fleet – Maria:Unlocked! Last time I regaled you all with the tale of her conception, starting from such humble beginnings as a home-grade HP pre-built mid-tower and growing into the mature PC she is today. Well, as of now Maria’s old chassis is off to the side of the office and her new body stands as a proud testament to her new abilities. This post will wrap up the saga, and if you’re a fan of troubleshooting computer equipment you’re in for a treat!
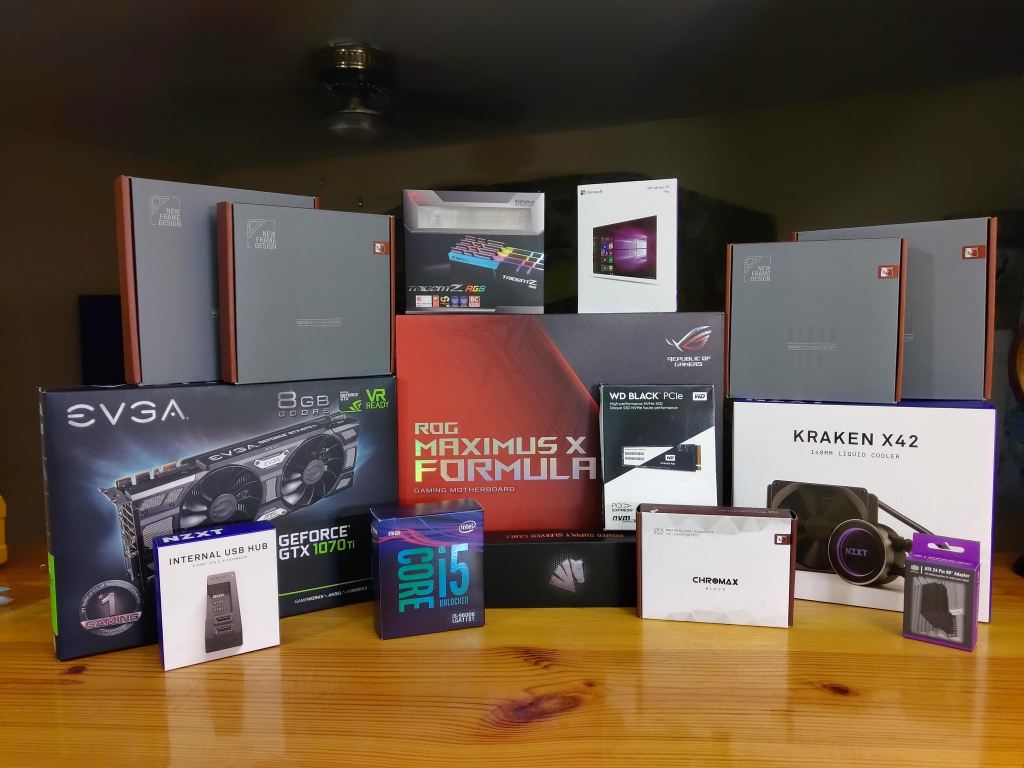
When I last wrote I had the sleeved power cable extensions installed and was awaiting a PSU in the mail to swap out for the SuperNova G+ currently housed in Maria’s existing chassis. That PSU arrived and installation went smoothly, freeing up the SuperNova for her new body. We installed the power supply, hooked up a monitor and power and… nothing. No lights, no fans, nothing.
Disappointed I took inventory of what was going on: there were several layers of connections (chassis button, right-angle adapter, extension cables, PSU cables, AC power cord) that could be faulty, so I started troubleshooting. I checked the power button connections and used the MOBO power button with no success. I removed the right-angle adapter: no dice. I removed the extension cable: still no luck. Finally I was left with a fully-functional PSU and cable that was NOT powering my MOBO, and you can imagine where my mind went; a DOA motherboard.
Growing anxious, I decided to test the AC power cord. The PC was plugged directly into a two-socket receptacle with a monitor in the other socket so I just pulled the cable out of the back of the monitor and plugged it into the PC and suddenly, we had power! At this point I’m skeptical, so I try the monitor with the cable I had originally had in the PC and now the monitor didn’t turn on: strange… Perhaps I’d just pulled a bad power cable to use? I killed the power to the PC and unplugged both cables, taking the potentially “bad” one out of service and trying a new cable. I was now met with the same symptom of one device working, one not and now an idea began to form. I ran a few more tests and officially concluded that the top socket in my receptacle was non-functional, perhaps snipped sometime in the past for a separate circuit that was no longer in use. But hey, no need to worry! It’s nothing a power tap can’t solve!
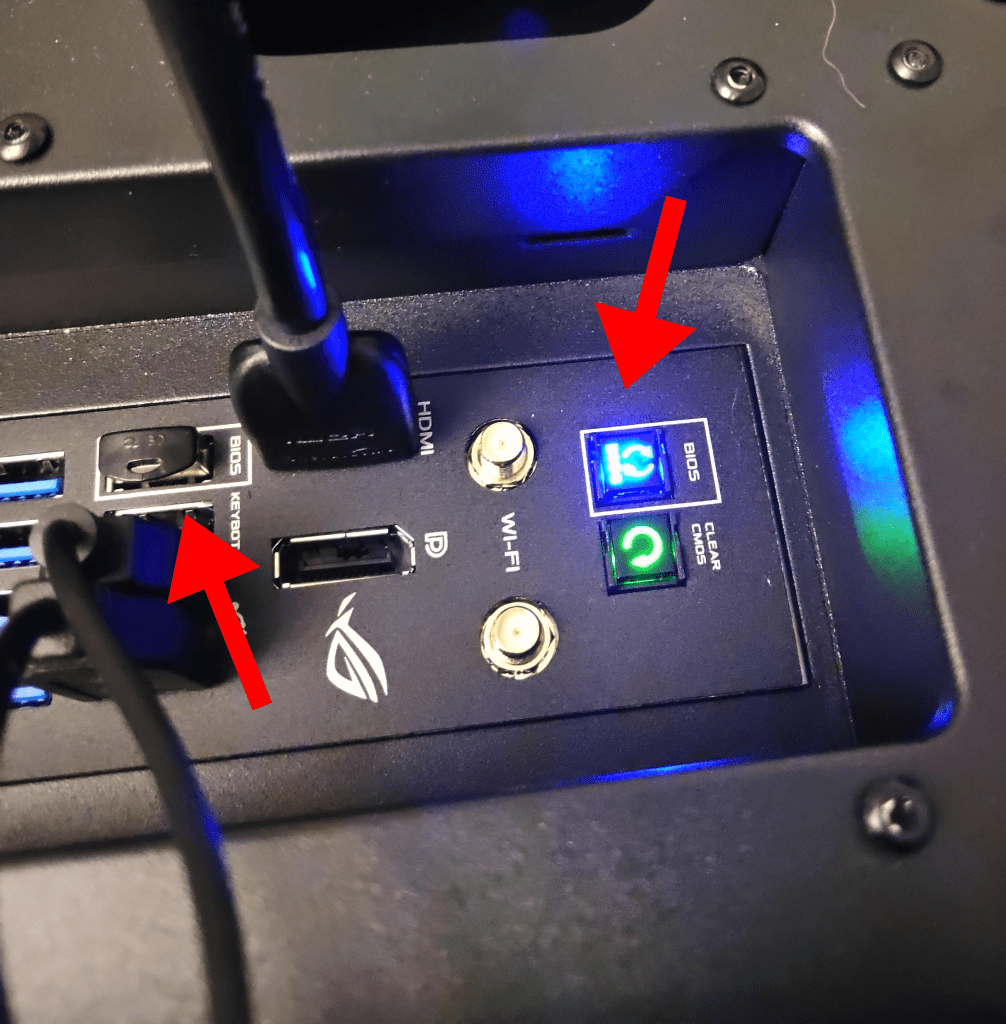
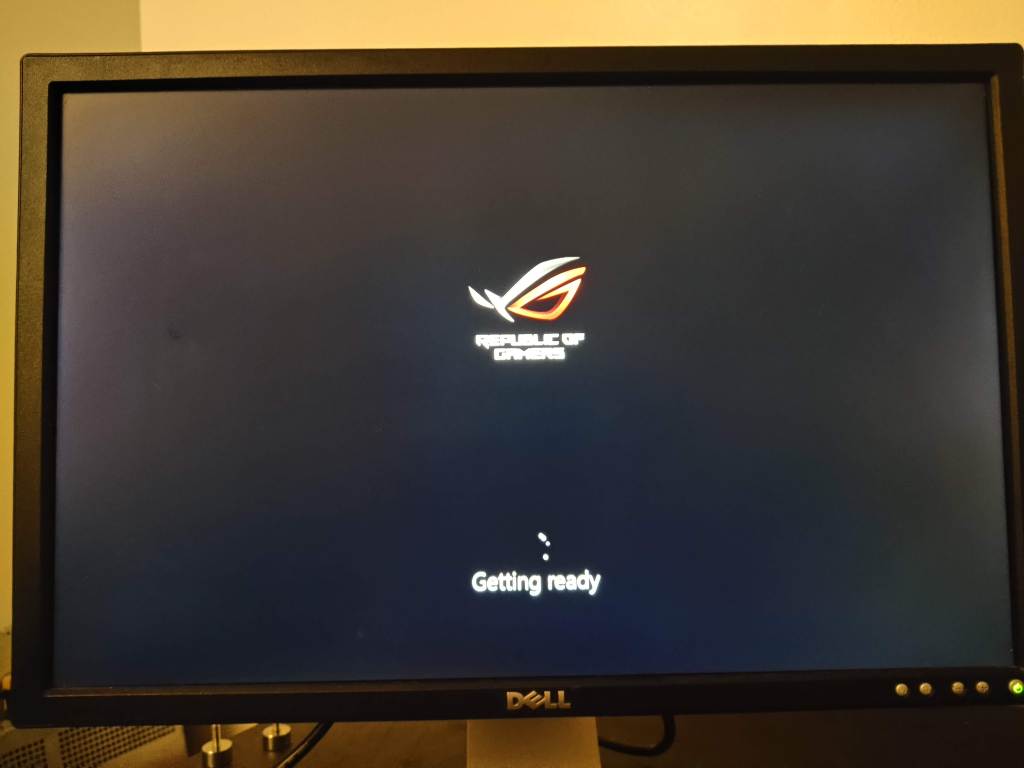
With everything now wired correctly I pressed the power button once more and watched as the fans began to spin, the CPU cooler lit up and the board booted, cycling though its boot codes until it settled on “Check CPU”. Huh, okay? I looked at the motherboard socket: yep, there’s definitely a CPU installed, Check! Unfortunately, the board didn’t like my snarky answer so I reached for my trusty manual! “Check CPU” could be several things, but mostly it refers to an unsupported CPU being loaded into the socket. Well I knew the 9600K was supported but then it hit me, this board was released before the 9th-Gen core processors! I’d need a BIOS update, but without a functional CPU that the MOBO knew how to use, how could I? I glanced around, searching for any free-ranging 1151 chips to no avail. Luckily Asus and a few other manufacturers have thought this through in recent years and built a BIOS flashing USB port on the I/O panel with a handy little button to initiate the flash. I burned the latest BIOS image to a flash drive and began the process!
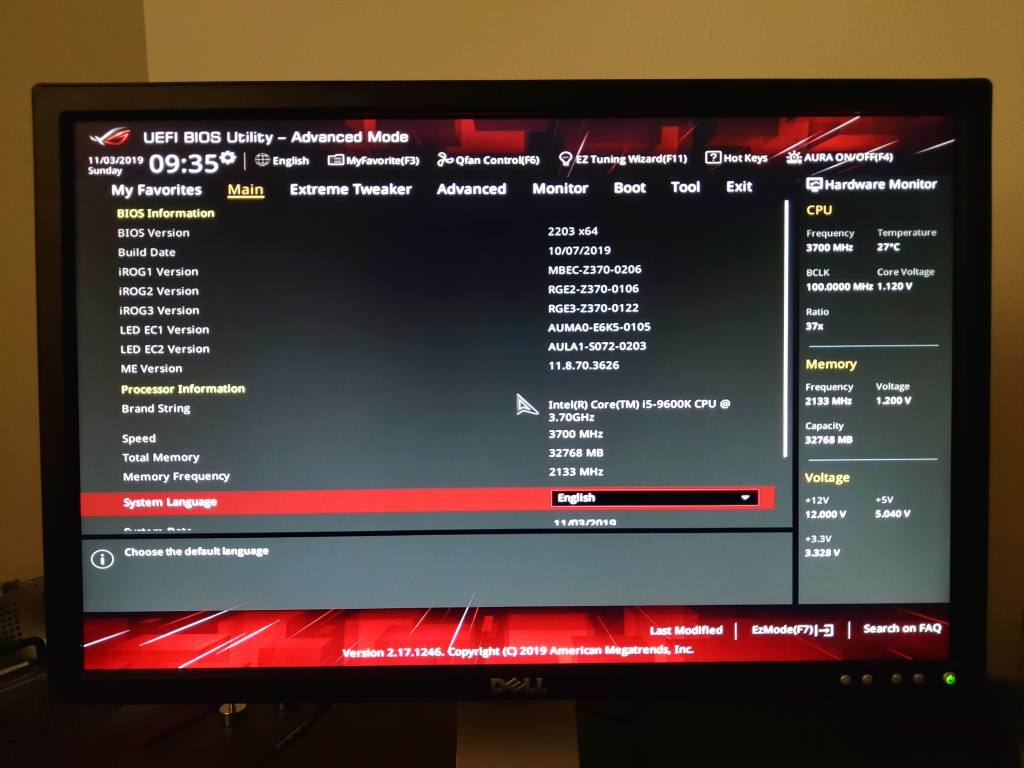
With the BIOS freshly installed I rebooted the PC, happily reaching the BIOS screen! And wouldn’t you know it, the MOBO now recognized the CPU. How about that?
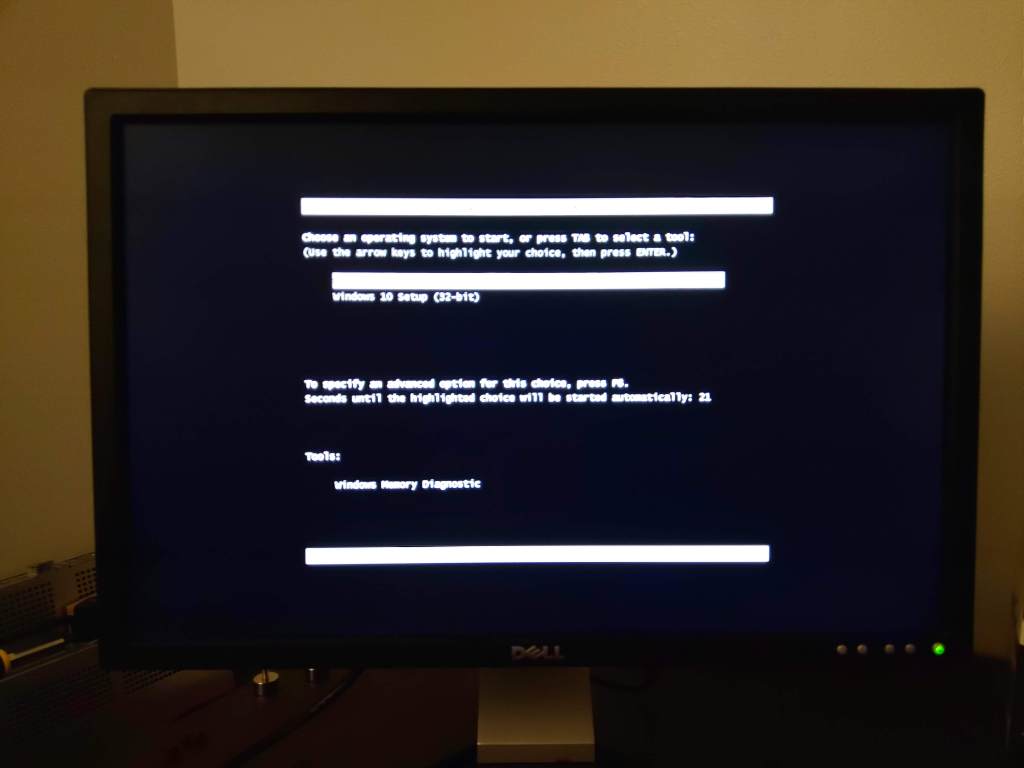
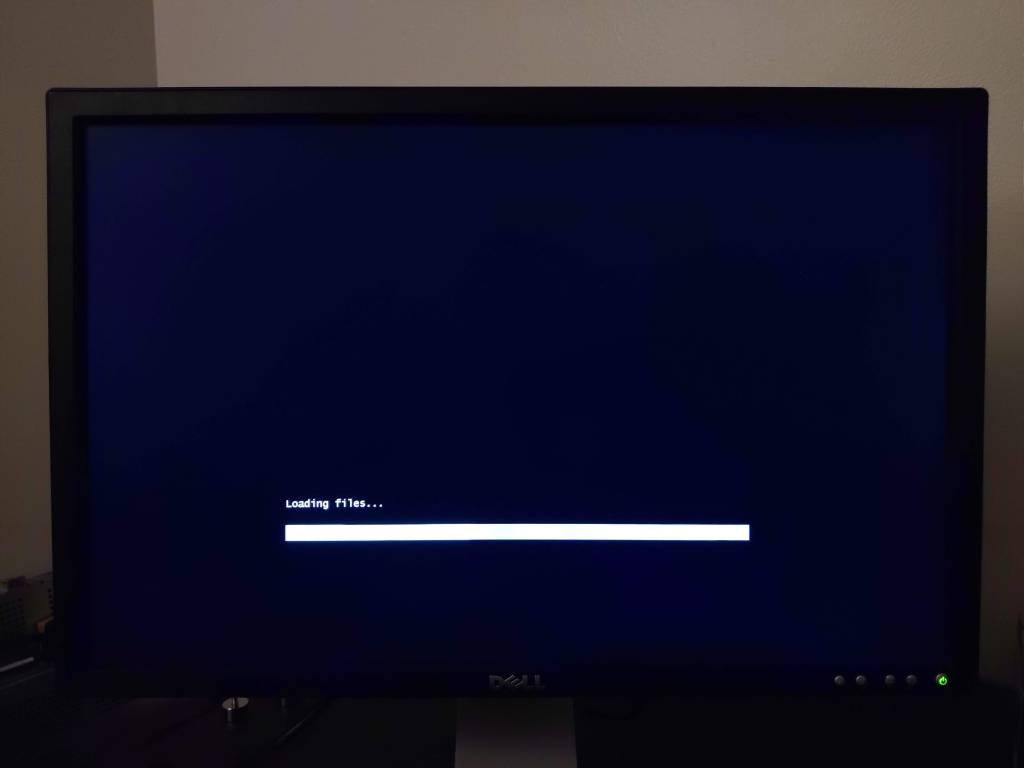
Now for the fun part: installing Windows! I had my full-retail version of Windows 10 Pro ready and started the short process. It’s funny to think back to how long this used to take: I remember starting the install on CD and then going off for an hour while it installed. How times have changed…
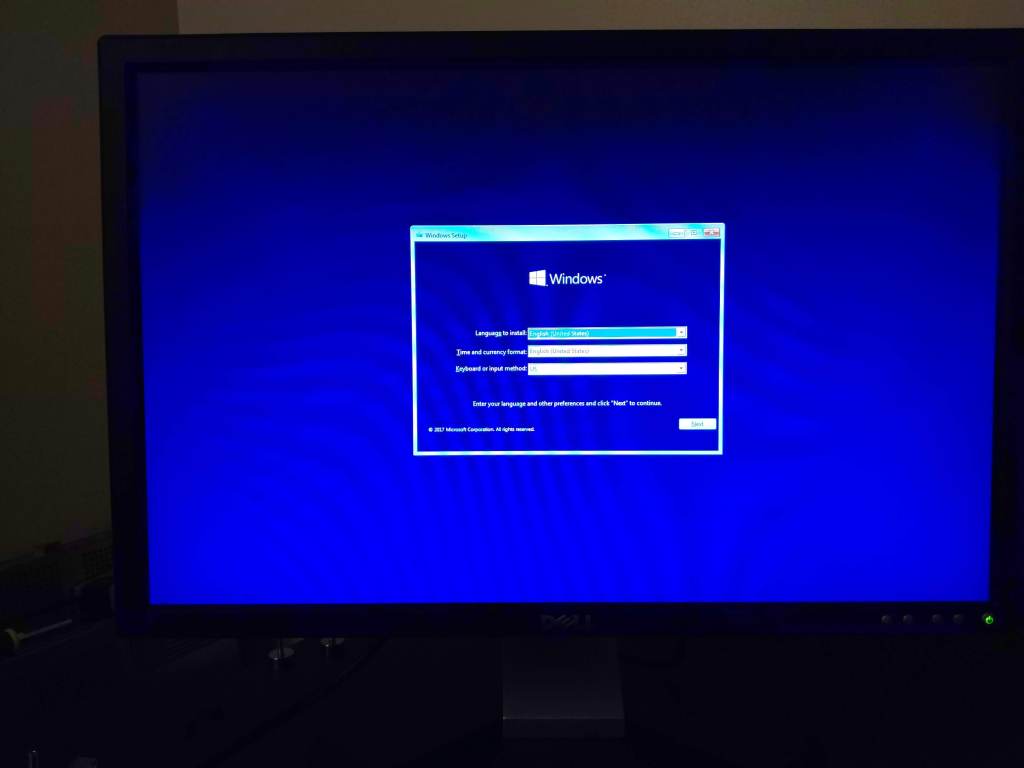
With Windows installed we set about configuring the fresh new machine. My retail package was ver. 1703 so I had a mighty upgrade ahead but Maria found what she needed and we were on 1903 in no time.
With a blazingly-fast Windows install at my fingertips I went about installing Steam and getting some other C: drive things squared away. In the meanwhile I put in an order with Corsair for some 60cm sleeved SATA cables for the long run from the drive caddy in the rear to the motherboard SATA ports. Once they arrived I installed the 4TB WD Red drive and spun it up, formatting it into my new media drive. Now came the long process of copying over all of my documents, photos, videos, etc. to Maria:Unlocked and oh my, do I have a lot of media on that machine! My Videos directory alone was 984GB! Whew!
I was able to install Space Engineers and fire up the Economy world save I’ve been playing on just to see how she handled it and I can say it went very well. Load times were quick and the world may possibly look better than it did on the 980Ti, and that’s saying something. I can’t wait to to some actual bench-marking and stress-testing to see how her temps and performance look under load. Exciting!
Well this is where I wrap things up on this post. I’ll keep you all updated on the results and of course, my experiences with all of this new hardware! I want to thank everyone for hanging out here and encourage you to swing by the YouTube channel if you haven’t already. Leave a comment either here or over on YouTube letting me know what you think about the content so far, how I can improve, or just to say hi. Just remember, I’m still finding my groove with all of this AND I’ve got the new baby, so go easy on me!
I’m having a lot of fun writing and recording, so you can be sure you’ll see me pop up again soon. But again, thank you all so much for being here and I’ll see ya next time! Bye!

Leave a comment